
Say Goodbye To Stubborn Shine: Your Ultimate Guide On How To Remove Gel Nail Polish The Right Way
It’s hard to resist that clean, chip-free shine of a gel manicure. But, the process of remove gel nail polish might be a hassle. You might start to panic at the thought of damaged nails and endless scrubbing. There’s no reason to worry, fellow nail enthusiasts! The process of removing gel nails doesn’t need to be challenging. With the right methods and a bit of patience, you can safely and effectively say goodbye to a manicure and get your nails ready for a clean look.
This all-inclusive guide will provide the steps necessary to safely remove gel nail polish while keeping the natural nails intact. Additionally, we will recommend some products with exceptional value that can make the work seamless and enjoyable. Prepare to learn the secrets of effective gel polish removal.
Why Proper Gel Polish Removal Matters
Let’s quickly look at the reason why gel nail polish removal should be done with the utmost diligence before we inspect the ‘how-to.’ Not correctly removing gel nail polish, such as picking it off, can remove layers from your nails. This can damage your nails, making them weaker and more brittle, easier to break, peel, or even lead to infection. Doing it the right way is a long-term investment on your nail beautification journey.
What You Need To Remove Gel Polish Effectively
You will require a few basic supplies to remove gel nail polish properly. You can streamline the process by having everything ready prior to beginning. These are the supplies that you will almost always need:
- Nail File (100/180 grit): Used for breaking the upper layer of polish.
- Cotton Balls or Lint-Free Wipes: Used to soak the acetone.
- Pure Acetone: This is the strongest solvent for all types of gel polish especially where the remnant gel polish borders the nail; our awesome Acetone Solution isn’t too harsh on the nails and gets polish off without sounding excessive.
- Aluminum Foil ( rectangles already cut would make it easier!): To bundle the soaked cotton onto your nails. You should test our Foil Wraps that are made from strong and easy to use material meant for easy gel polish clean off.
- Cuticle pusher (metal or wooden): These are used to scrape off any polish that has already been scraped. Every woman needs our great cutter pusher which gently but efficiently helps remove polish.
- Nail buffer: Used to smoothen the surface of the nails post removal.
- Nail and cuticle oil: Used to hydrate cuticles and the nails. Nourishing cuticle oil luxuriously softens cuticles and is enriched with vitamins and essential oils that stimulate nail health.
Step by step guide: how to remove gel nail polish at home
For those who constantly wonder how to remove gel nail polish gently, here explains every detail one needs to know:

Step 1: very gentle buff the top coat
With the use of your nail file, gently buff the shiny top coat of your gel polish. This step aids in allowing the acetone to work into the polish layers. remember to only take off the color so that the top layer can be glossy and do not file all the way to the natural nail.
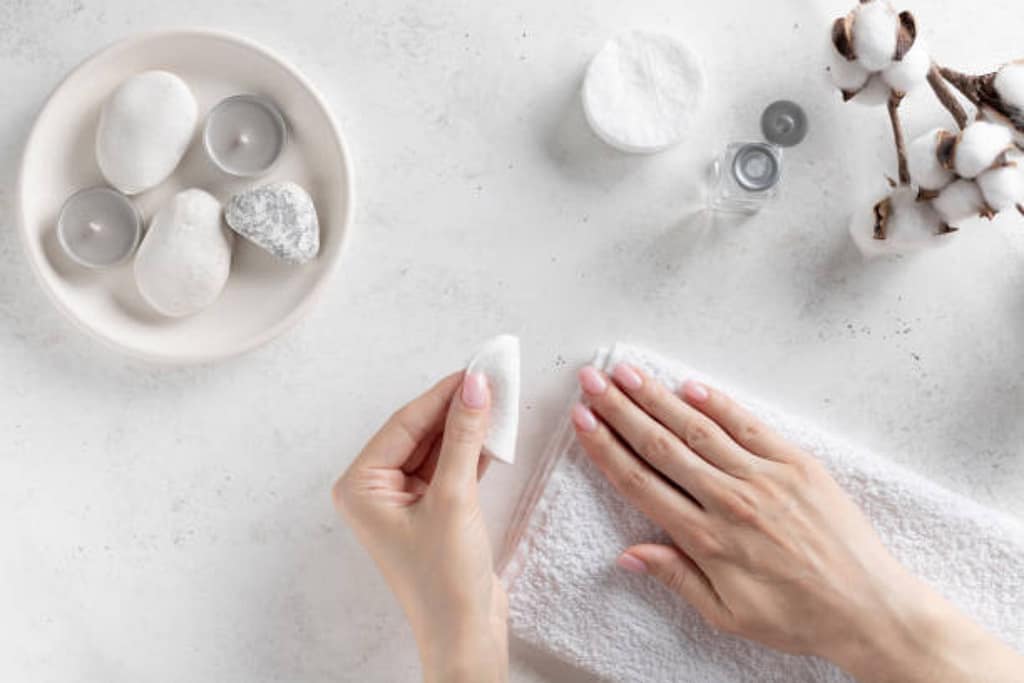
Step 2: soak cotton with acetone
Soak a cotton ball or a non-fiber separating wipe in acetone. It needs to be wet enough to fully cover the nail.
Step 3: apply and secure
Put the acetone-soaked cotton ball right on top of your fingernail. After that, wrap a piece of aluminum foil snugly at the tip of your finger to hold the cotton in place. It is much easier if you use pre-cut squares of foil. Do this to all ten fingers.
Step 4: Wait (Let it Soak!)
This is the most important part! You now need to wait for the acetone to soak for 10-15 minutes. Don’t give in to the urge of looking or trying to take off the nail polish because that will wreck the risk. Enjoy the time and relax!
Step 5: Take Off the Excess Gently
Use a cuticle pusher to start off at the edge of the nail then push the gel polish backward. Once you start working from the cuticle area and push towards the free edge, it should be easy to scrub off. Should you choose to repeat the soaking process for a couple of minutes, stubborn spots can be made easier. Do not use too much force or scraping.
Step 6: Buff and Smooth
Now that you have removed all the gel polish, pick up a nail buffer and lightly scratch the surface of the nails to get rid of the remnants.
Step 7: Moisturize and Nourish
Acetone can be harsh on your skin and nails, and it is important to add moisture back into the skin after the removal process. Apply generously oiling your nails and cuticles with cuticle oil. Massage it slowly to increase moisturization and enhance healthy nail growth. You can also apply a rich hand cream after.
Helpful Tips for Effective Gel Polish Removal
- Complete One Hand First: This gives you the freedom to unwrap foil without interrupting the flow of the first hand.
- Warm Environment: The scent of acetone is very strong so it is advised to be in a place with good air circulation while doing the removal procedure.
- Do Not Rush: Patience is key! Do not disrupt the waiting period for acetone to work on breaking down gel polish, it has to be given time.
- Hearing Protection: This refers to experiencing discomfort or nail burning while soaking; if this is the case, remove the foil and wash hands without soap.
- Use Steam Method: This involves putting the bowl with nails inside of it in a larger bowl with hot water. Always use caution and make sure you follow safety protocols.
Conclusion
Taking off a gel nail polish shouldn’t be an anxiety-provoking task. With the right tools such as our formulated Acetone Solution, the handy Foil Wraps, the gentle Cuticle Pusher Tool, and the nourishing Cuticle Oil, saying goodbye to manicures can be done effectively and efficiently without harming the nails. Enjoy the experience and cherish the feeling of clean and fresh nails that are instantly ready for a new and fabulous look.


